Although axe sharpening is something of a lost art, mastering the technique can be beneficial. Old-time lumberjacks used to spend their lunch breaks sharpening their axes because they understood that if the edges were sharp, they could work more quickly, effectively, and with less effort.
The same holds true for any work performed close to a building or job site. A little practice can help you quickly repair and sharpen any axe. This article provides 3 simple-to-follow methods on how to sharpen an axe with a file, a grinder, and a sharpening stone.
Table of Contents
- How Sharp Should an Axe Be?
- Tools Required to Sharpen an Axe
- How to Sharpen an Axe with a File
- How to Sharpen an Axe with a Grinder
- How to Sharpen an Axe with a Sharpening Stone
- FAQs (Frequently Asked Questions)
How Sharp Should an Axe Be?
First, realize that axes don’t have to be extremely sharp. In fact, compared to a conventional sharp edge, a razor-sharp edge may be more prone to chipping. Simply put, an axe must be sharp enough to cut through wood fibers without being razor-sharp. Simply producing a crisp edge devoid of nicks and dents is the goal when axe sharpening.
Axes can be sharpened in a variety of ways, and different people will each claim to have the best technique. Any of the techniques on this list will work unless you’re sharpening a $500 masterpiece of an axe.
You should have no trouble sharpening an axe using this approach. There are situations, nevertheless, where it could be preferable for someone not to sharpen their own axe. Fortunately, there is a fix.
You can pay someone to sharpen an axe for you if you have an antique axe or don’t want to bother with it. The majority of professional services cost $5 to $10 per edge of the axe. In some circumstances, such as those containing unique metals or severely damaged parts, the price will be greater. Most sharpening shops will rehandle an axe for $20 plus the cost of the handle if the handle needs to be replaced.
Visit our types of axes guide for information on all the various types.
Tools Required to Sharpen an Axe
- Bug and tar remover
- File brush
- Flat work surface
- Clamp
- File
- Honing oil or beeswax
- Work gloves
- Safety glasses
- Bench grinder (depending on method)
- Sharpening stone (depending on method)
Bug and Tar Remover
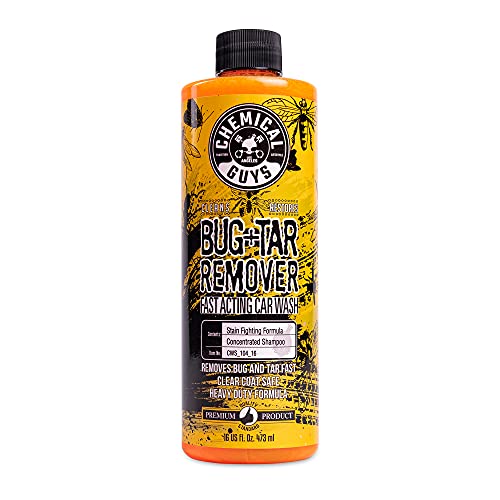
- A must own for commuters, truckers, couriers, and fleet vehicle owners
Prices pulled from the Amazon Product Advertising API on:
Product prices and availability are accurate as of the date/time indicated and are subject to change. Any price and availability information displayed on [relevant Amazon Site(s), as applicable] at the time of purchase will apply to the purchase of this product.
File Brush

- Cleaner card for maintaining hand file and rasp teeth
Prices pulled from the Amazon Product Advertising API on:
Product prices and availability are accurate as of the date/time indicated and are subject to change. Any price and availability information displayed on [relevant Amazon Site(s), as applicable] at the time of purchase will apply to the purchase of this product.
Clamp
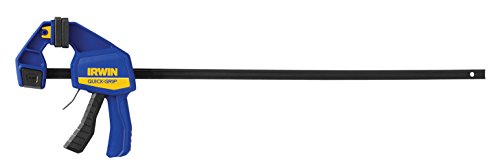
- New Quick-Change button easily converts clamp to spreader
Prices pulled from the Amazon Product Advertising API on:
Product prices and availability are accurate as of the date/time indicated and are subject to change. Any price and availability information displayed on [relevant Amazon Site(s), as applicable] at the time of purchase will apply to the purchase of this product.
File
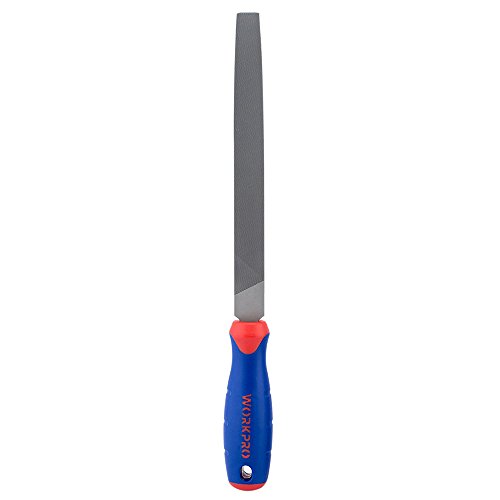
- FLAT FILE – The WORKPRO W051002 Flat File has an ergonomic design, anti-slip, and comfortable grip so you can easily sharpen your tools
Prices pulled from the Amazon Product Advertising API on:
Product prices and availability are accurate as of the date/time indicated and are subject to change. Any price and availability information displayed on [relevant Amazon Site(s), as applicable] at the time of purchase will apply to the purchase of this product.
Bench Grinder
- FLAT FILE – The WORKPRO W051002 Flat File has an ergonomic design, anti-slip, and comfortable grip so you can easily sharpen your tools
Prices pulled from the Amazon Product Advertising API on:
Product prices and availability are accurate as of the date/time indicated and are subject to change. Any price and availability information displayed on [relevant Amazon Site(s), as applicable] at the time of purchase will apply to the purchase of this product.
Sharpening Stone

Prices pulled from the Amazon Product Advertising API on:
Product prices and availability are accurate as of the date/time indicated and are subject to change. Any price and availability information displayed on [relevant Amazon Site(s), as applicable] at the time of purchase will apply to the purchase of this product.
How to Sharpen an Axe with a File
Using a file is one of the most popular ways to sharpen an axe to obtain a usable edge. The process is straightforward, and the outcomes are excellent—especially for axes from a hardware store. You’ll need the following tools at the ready:
- Bug and tar remover
- File brush
- Flat work surface
- Clamp
- File
- Honing oil or beeswax
- Work gloves
1. Clamp Axe to Table
An axe needs to be sharpened repetitively; therefore, fastening it to a worktable produces the greatest results. The axe should be turned on its side with the bit facing you and overhanging the edge of the table. The handle should be clamped to the table using a clamp.
2. Clean the Axe Head and File
Axe heads can occasionally accumulate pitch and sap, which can block the file. To get rid of the pitch, use a little bug and tar remover or another similar solution. To get rid of any filings from the file, use a file brush or another brush with strong bristles.
3. File One Side
Put on a pair of work gloves and start gliding the file, stroke by stroke, over the edge of the axe. To prevent reshaping the grind, attempt to match the blade’s bevel (angle of the blade). Work from right to left or left to right, but make an effort to be consistent with whichever you choose.
Furthermore, the push stroke is the sole direction in which files can remove metal. Pulling will dull the file and is simply ineffective. Flip the axe over once one side is sharpened, then clean the file.
4. File the Other Side
After that, begin honing the axe’s other side using the same technique. Push the file across the bit’s edge while matching the grind angle. To prevent the edge from moving off-center and becoming chisel-like, try to sharpen each side using the same number of strokes or for the same length of time at the same rate. Continue filing both sides equally to preserve the center of the blade if one side requires more work than the other.
Check the axe’s edge thoroughly to make sure it is sharp and unnickled. After that, apply a little layer of oil or wax to the axe head to protect it.
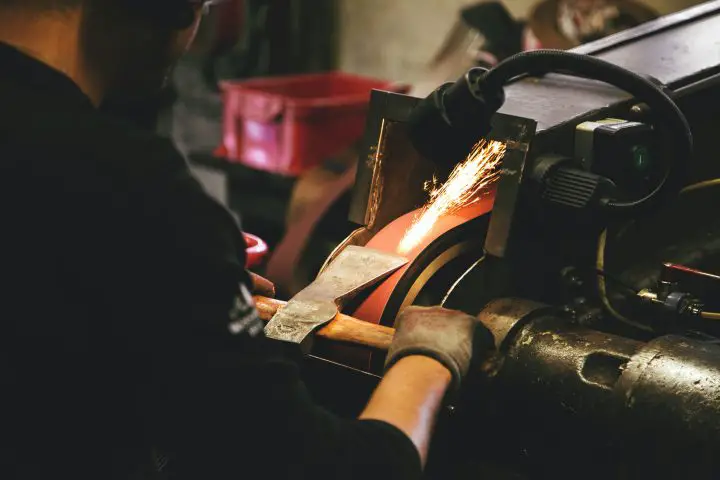
How to Sharpen an Axe with a Grinder
A bench grinder will work to sharpen an axe quickly but with less accuracy. Just remember to put on work gloves and safety eyewear, and stay away from loose clothing and long hair that could get entangled in the machinery. Alternatively, some people may opt to use an angle grinder.
You’ll need the following tools at the ready:
- Safety glasses
- Bug and tar remover
- File brush
- Bench grinder
- Honing oil or beeswax
- Work gloves
1. Clean the Axe and Grinding Wheel
Axes frequently have some pitch or sap on their edges, which can be resolved with certain bug and tar remover. To get rid of any filings lodged on the surface, quickly brush the grinding wheel if it is an older model.
2. Find the Correct Angle
Spend some time determining the best angle for your axe before starting the grinder. Tip the bit up until the angle of the cutting edge on the underside of the blade is about parallel to the grinding wheel while holding the axe with the head against the rest.
If your grinder’s rest can be adjusted, align it with the angle of the axe head. Start the grinder while keeping the axe a little distance from the grinding wheel.
3. Grind One Side
Sweep the blade edge of the bit across the grinding wheel while adhering to the axe bit’s curvature, being careful to keep the angle constant. To avoid flat patches in the grind and bit overheating, keep the axe bit moving across the wheel.
4. Grind the Other Side
Flip the grinder over after taking the axe out of it. If you’re at ease, you can continue using the grinder while attempting to match the angle once more (it’s not an exact science). To locate the grind angle once more, you can turn off the grinder and wait for it to stop rotating.
- Make sure to continue moving the axe edge across the grinding wheel.
- To maintain the cutting edge centered, grind the second side for a same amount of time as you did the first.
To keep the cutting edge centered, keep grinding one edge after the other, testing for sharpness in between each pair of grinding sessions. The finish of an axe sharpened with a grinder is rougher than a file, but it must be free of nicks and dents. Apply some wax or oil to the axe head once you’re done to protect it.
How to Sharpen an Axe with a Sharpening Stone
The oldest and most traditional way to grind an axe is with a sharpening stone. The rough side of these stones is for removing debris, and the fine side is for sharpening axes edges. These stones are frequently kept by lumberjacks in their toolboxes or pouches, where they are spat on to add a little lubrication. We advise using a few drops of honing oil, but everyone should do as they choose.
You’ll need the following sharpening tools at the ready:
- Bug and tar remover
- Grinding/sharpening stone
- Honing oil or beeswax
- Work gloves
1. Clean the Axe Head
Grinding stones are expensive, and they function best when they are free of filings, pitch, and sap. Before sharpening, clean the axe head to keep your grinding stone clear. Once more, insect and tar remover will help, but WD-40 will also be effective.
2. Oil the Stone
A small amount of honing oil aids in lubricating the stone and keeps the axe’s edge cool while it is being sharpened. Depending on how dry the stone is, a few drops is all that is necessary. You should only oil one side of the stone at a time, even though you will be using both sides. The bit of the axe benefits from a mild coating.
3. Sharpen One Side With the Rough Side of the Stone
Place the axe handle under one arm while wearing work gloves, and aim the bit in a comfortable direction. Make circular passes across the bit using the oiled stone’s rough side. Sharpening stones cut at multiple angles as opposed to files, therefore a circular motion is particularly effective.
To avoid getting cut on the axe’s edge, make sure to keep your fingers away from the stone’s edge. Additionally, try your best to keep the same viewpoint.
4. Sharpen the Other Side With the Rough Side of the Stone
Start honing the axe’s opposite side after you’re satisfied. Make sure to make short, circular passes down the bit’s full edge. To maintain the edge centered, try to match the number of passes or time spent grinding this side to that spent on the preceding side.
Change sides frequently until the edge is straight and free of nicks and dents. The grinding stone may need to be cleaned sometimes with a brush or some more oil.
5: Use the Fine Side of the Sharpening Stone
Repeat Steps 3 and 4 using a few drops of oil on the fine side of the stone. The edge will be sharpened significantly and refined on the fine side. In general, since the rough grinding does most of the work, one or two passes per side are usually sufficient to sharpen axes. Apply oil or wax to the axe head after sharpening the edge to protect the metal. Now, you have your sharp axe!
FAQs (Frequently Asked Questions)
Should an axe be razor sharp?
No, an axe should be sharp enough to cut through wood fibres but not razor sharp. A razor-sharp edge may be more prone to chipping.
How long does it take to sharpen a dull axe?
It can take less than 15 minutes as long as you have a couple of basic tools and you follow one of the methods presented in this article.
Can I sharpen an axe with a grinder?
A bench grinder can certainly be used to sharpen axes. It’s a very quick method, but you must be aware that it is not as precise as using a file. Wear work gloves and safety glasses, and avoid long hair and loose clothing that could get caught in the machinery.
Related Articles:
 Chainsaw Brands – Popular Chainsaw Brands & Chainsaw Manufacturers
 How to Use a Chainsaw Safely: Top Tips & Tricks to Ensure Your Safety
 Sawmill Blades – An Ultimate Guide
 How Much Is a Cord of Wood? Size, Price, Weight, Number of Pieces & How Long It Lasts
Where Are Chainsaws Made? A Guide to Chainsaw Manufacturing Locations
How Much Is a Cord of Wood? Size, Price, Weight, Number of Pieces & How Long It Lasts
Where Are Chainsaws Made? A Guide to Chainsaw Manufacturing Locations